Mastering Manual Mode: Unlock Your Camera's Potential Today!
Have you ever looked at a breathtaking photograph and thought, "How did they do that?" The secret often lies in mastering the manual mode of your camera. Take control of your camera settings, and you’ll experience newfound freedom in your photography. Whether you're capturing a sunset, a friend's portrait, or a bustling city scene, understanding manual mode can transform your shots from ordinary to extraordinary.
Why Manual Mode Matters
There's a certain thrill that comes with taking your photography into your own hands. Automatic settings may suffice for quick shots, but they can limit your creative options. When you shoot in manual mode, you decide how every element of your photo comes together. You'll gain a deeper understanding of exposure, light, and composition, resulting in stunning images that accurately reflect your vision.
Mastering manual mode isn’t just about knowing how to adjust your settings; it’s about developing a unique photographic style. This guide will empower you to feel confident and excited about capturing the moments that matter most.
Understanding the Basics of Exposure

The Exposure Triangle

At the heart of photography lies the exposure triangle, which consists of three key elements: aperture, shutter speed, and ISO. Understanding how these components work together is crucial for achieving the perfect exposure.
-
Aperture (f-stop): The aperture controls the amount of light that enters your camera through the lens. A lower f-stop number (e.g., f/1.8) signifies a wider opening, allowing more light in and creating a shallow depth of field—ideal for portraits. Conversely, a higher f-stop number (e.g., f/16) produces a smaller opening for less light, giving you more depth of field—great for landscapes.
-
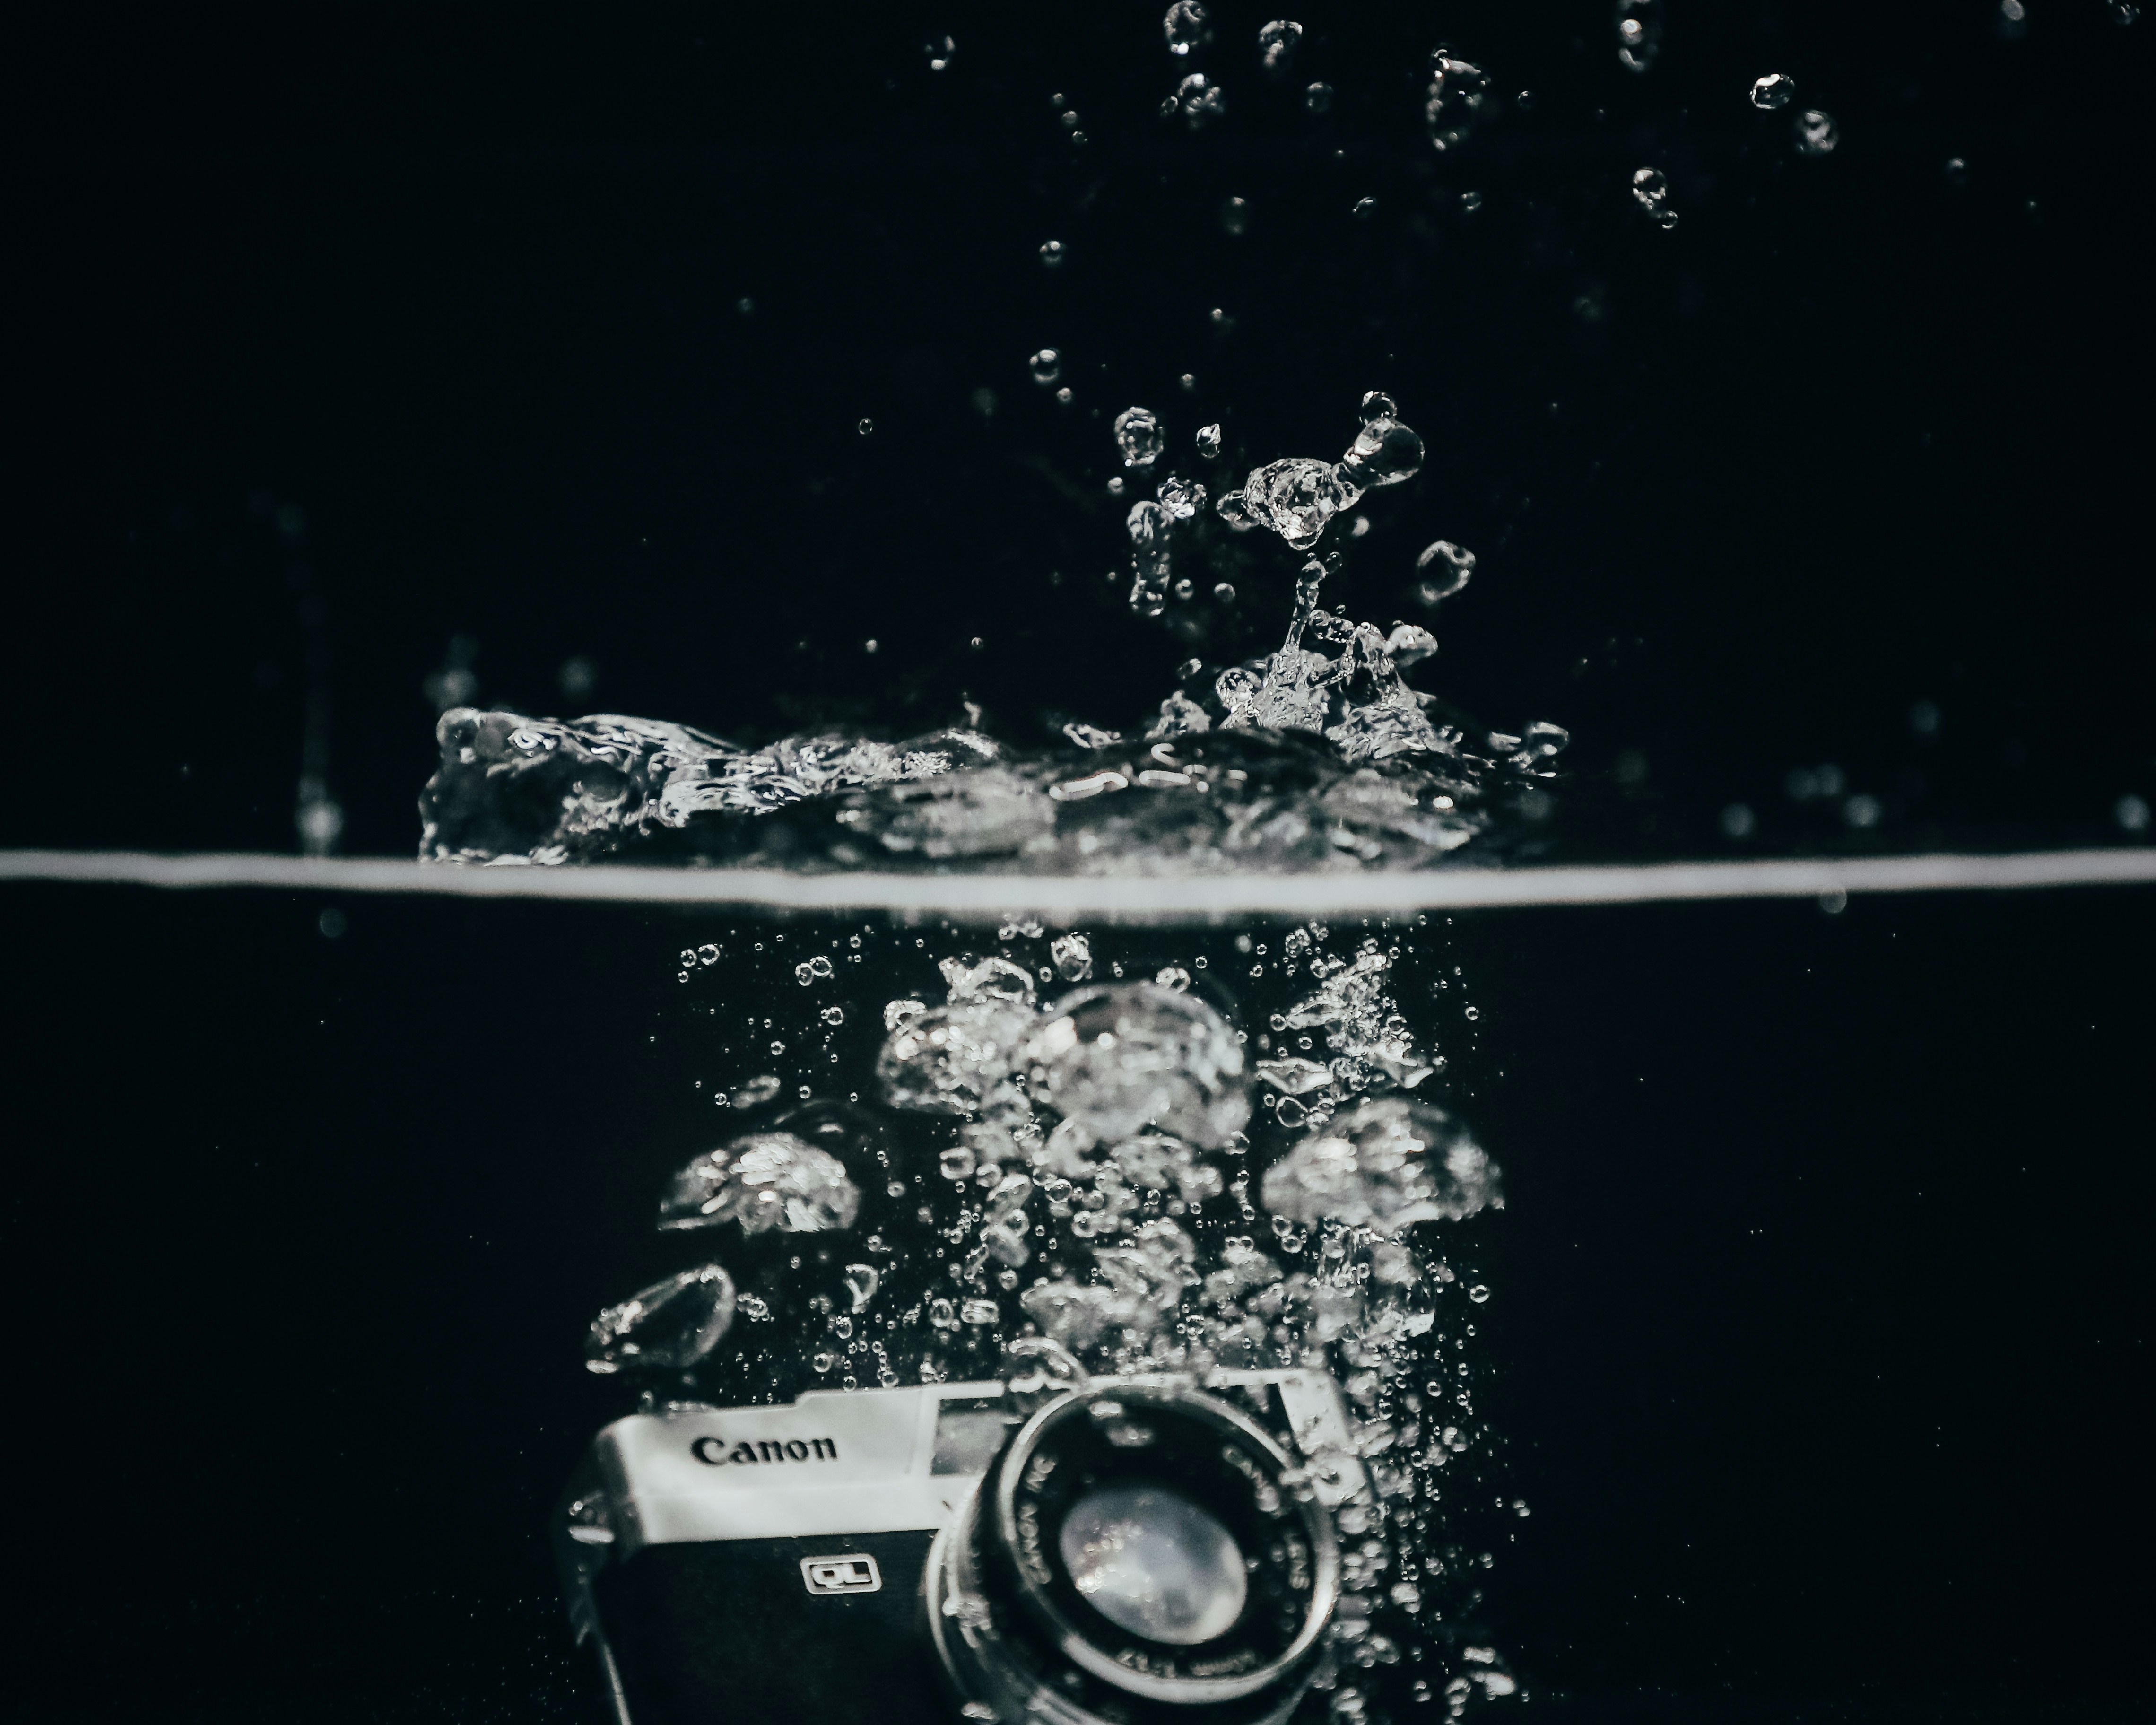
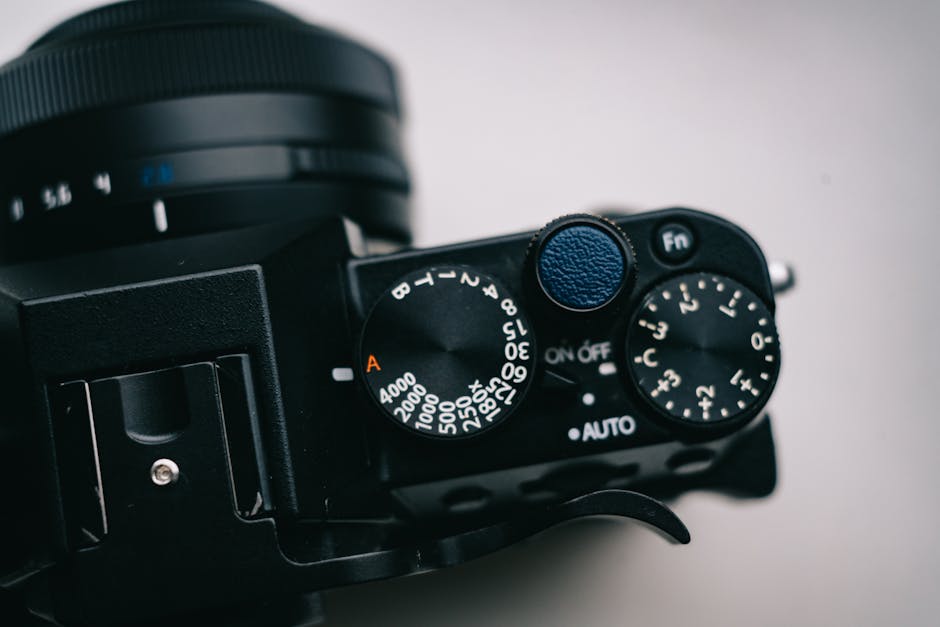
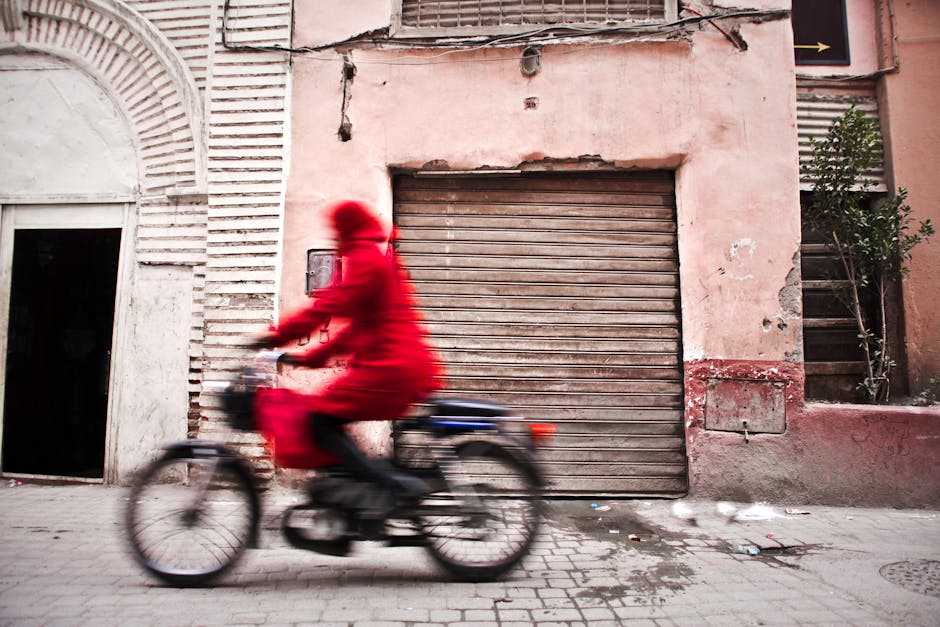
Shutter Speed: Shutter speed determines how long your camera's shutter remains open to let light in. Faster shutter speeds (e.g., 1/500s) freeze fast-moving subjects, while slower speeds (e.g., 1/4s) can create motion blur. Experiment with slow shutter speeds for dramatic effects, such as capturing flowing water or city lights at night.
-
ISO: ISO measures your camera's sensitivity to light. A lower ISO (e.g., 100) is ideal for bright conditions, while a higher ISO (e.g., 3200) is useful in low light. However, increasing your ISO can lead to noise in your images. Always strive to maintain a balance for the best results.
Exposure and Light Metering

When you’re ready to shoot in manual mode, utilize your camera's built-in light meter. This tool helps measure the light in your scene, indicating whether your exposure is correct. The goal is to find a balance in the exposure triangle that achieves a well-exposed image—something that may require some trial and error.
You can use the light meter to determine if you need to adjust any of the elements in your exposure triangle. If your meter shows a negative value, it indicates underexposure; conversely, a positive value indicates overexposure. Aim to center the meter's indicator for balanced exposure.
Getting Comfortable with Aperture
Crafting Depth of Field

When you understand the effects of aperture, you can creatively manipulate depth of field to enhance your storytelling. A shallow depth of field blurs the background, making your subject stand out, while a deep depth of field keeps more of the scene in focus—a key technique in landscape photography.
To achieve a shallow depth of field, use a wide aperture, and get as close to your subject as possible. Conversely, for a deep focus shot, use a narrow aperture while increasing your distance from the subject. Understanding how to control depth of field can significantly influence the mood of your images.
Experimenting with Light
Aperture also plays a vital role in how light interacts with your scene. When shooting in low-light situations, using a wider aperture allows more light to hit the sensor, enabling you to capture better images. On the flip side, when shooting in bright conditions, a narrower aperture can help prevent overexposure.
Don’t be afraid to explore different apertures for each shot. Change your settings as you move from bright sunlight to shaded areas, or switch from indoor to outdoor environments. Your eye for detail will develop quickly as you learn to observe light in relation to your settings.
Mastering Shutter Speed
Freezing vs. Blurring Motion

As you delve deeper into shutter speed, you’ll discover its potential for creative expression. Want to capture the swift movement of a bird in flight? A fast shutter speed is crucial. On the contrary, if you aim to convey motion through blurriness, opt for a slower speed and pan your camera along with the subject.
Test your skills by experimenting with various shutter speeds in different scenarios. Capture the splash of water from a fountain with a fast shutter speed and then use a slow speed to create a silky water effect. Each variation will teach you something new about how time interacts with your images.
Light and Shutter Speed Connection
Shutter speed also works closely with light. In a bright environment, you can afford to use faster shutter speeds without sacrificing exposure. Conversely, in dim lighting, you might need a slower shutter speed—or a wider aperture—to maintain good exposure. Keep this relationship in mind as you practice manual photography; being attuned to light will pay off.
Understanding ISO
Noise vs. Light Sensitivity
ISO is often the overlooked element of the exposure triangle—don’t let it fall by the wayside! The sensitivity of your camera’s sensor to light dictates how you should approach shooting in various conditions. Generally, keep your ISO as low as possible to preserve image quality and reduce noise. However, when shooting in low light without a tripod, you may need to elevate your ISO.
Find the sweet spot for your camera, identifying how high you can raise the ISO before noticing noise. Each camera performs differently; consult your camera's manual or experiment with settings for optimal results.
Using ISO Wisely
A good rule of thumb is to adjust ISO only after you've set your aperture and shutter speed. This ensures your foundational exposure settings are in place first, allowing for minor tweaks with ISO as needed. Practice shooting at different ISOs in various situations to enhance your understanding.
Putting It All Together: A Practical Approach
Before You Shoot
As you prepare to take a shot, always assess your scene. Ask yourself:
- What is your subject?
- How will the light affect your shot?
- What mood do you wish to create?
Adjusting Settings
Use the exposure triangle as a guiding principle to set your aperture, shutter speed, and ISO. Start with your preferred aperture based on the depth of field you desire, then adjust shutter speed and ISO accordingly.
Review and Adjust
Take your shot, review it, and don’t hesitate to tweak your settings as necessary. Remember, photography is an evolving practice. With each click, you'll learn and grow, so don’t shy away from making mistakes; they can often lead to beautiful, unexpected results!
Creating a Workflow that Works for You
Develop Your Style
Over time, you’ll notice themes and styles emerging in your photography. Whether you gravitate towards vibrant colors, soft lighting, or moody atmospheres, embrace this journey. Practice regularly, join photography communities, and if possible, take workshops to refine your skills.
Set Goals
Set specific goals that will encourage you to expand your skill set. Challenge yourself to shoot in manual mode for an entire week or try photographing different subjects in various lighting conditions. Join online forums for inspiration or even potential collaborations with photographers passionate about the same techniques!
Final Thoughts
Mastering manual mode is a journey, not a destination. Don’t rush the process; instead, embrace each opportunity to learn as you go. The day will surely come when you look back on your earlier work with pride, recognizing how far you've traveled in your photographic journey.
So grab your camera, explore the world, and don’t forget to have fun! Engage with your passions, push your boundaries, and remember—the best photographs often come after a good dose of trial and error.
Additional Resources for Continuous Learning
Consider diving deeper into photography through resources like Harvard Business Review for insightful articles on creativity and innovation. Invest in books, online courses, or mentorships that resonate with your interests. There’s always something new to discover, so stay curious and keep capturing those incredible moments!